Tailgate Watch
Electronic Tailgate Monitor
Battery replacement guide:

STEP-1. Top side.
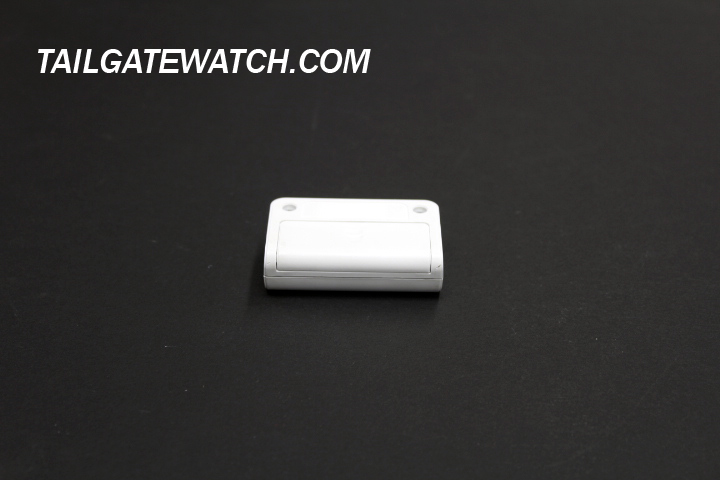
STEP-2. Back side.
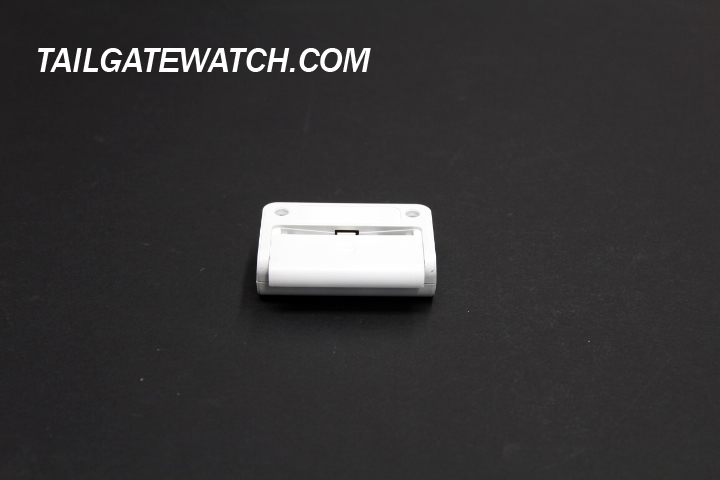
STEP-3. Carefully open the battery cover. Tools are not needed.
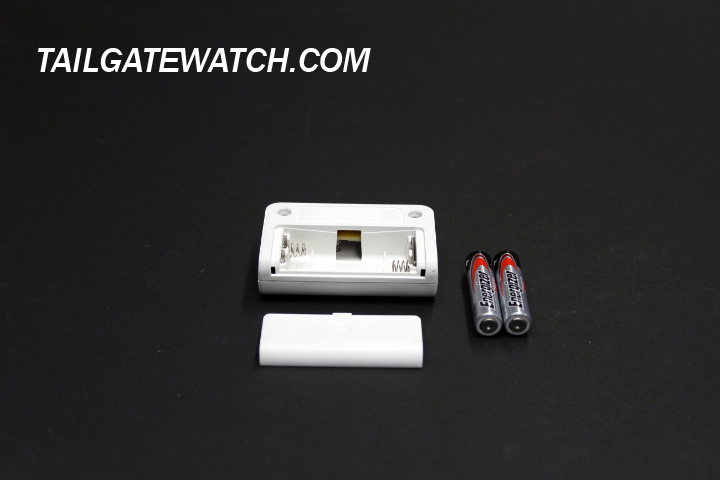
STEP-4. Have 2 new high quality AAA batteries ready.
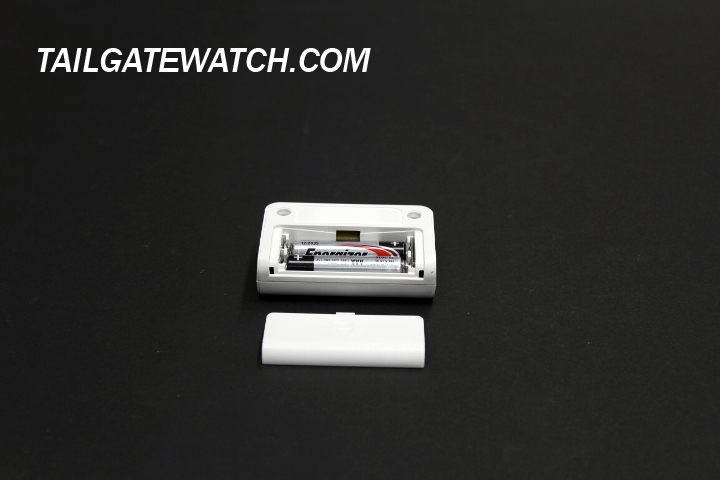
STEP-5. Insert the batteries, insure proper orientation.

STEP-6. Carefully close battery cover.
Transmitter battery replacement guide:
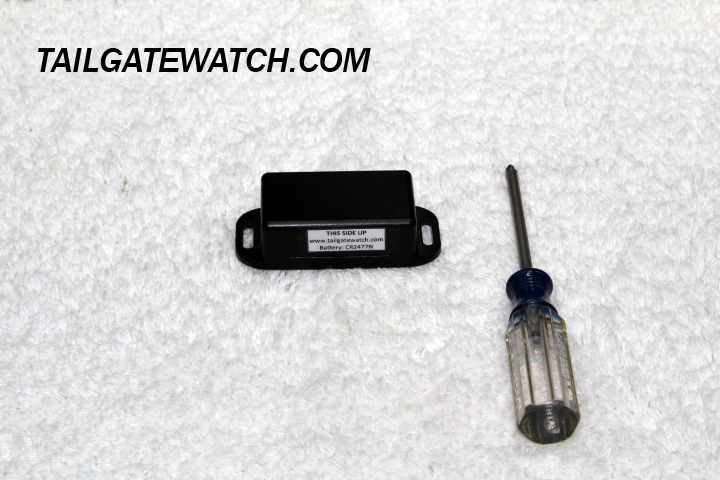
STEP-1. Top side.
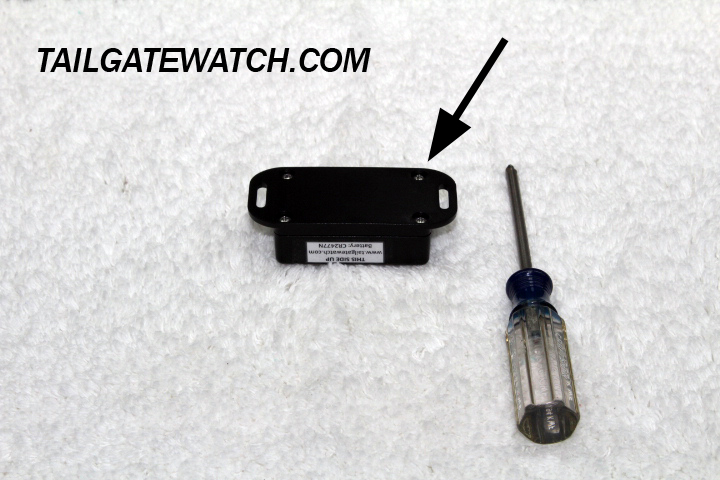
STEP-2. Back side. Location of the 4 cover screws.
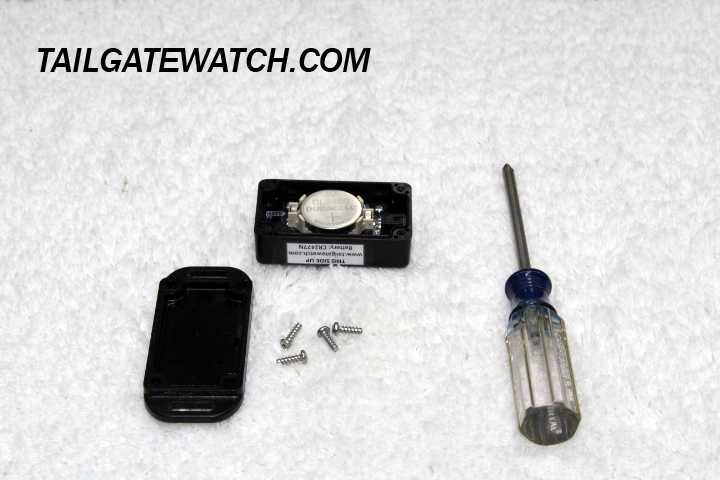
STEP-3. Carefully open the battery cover with a #1 Phillips screw driver, removing the 4 stainless steel cover screws and lifting off the cover. Observe the cover sealing gasket.
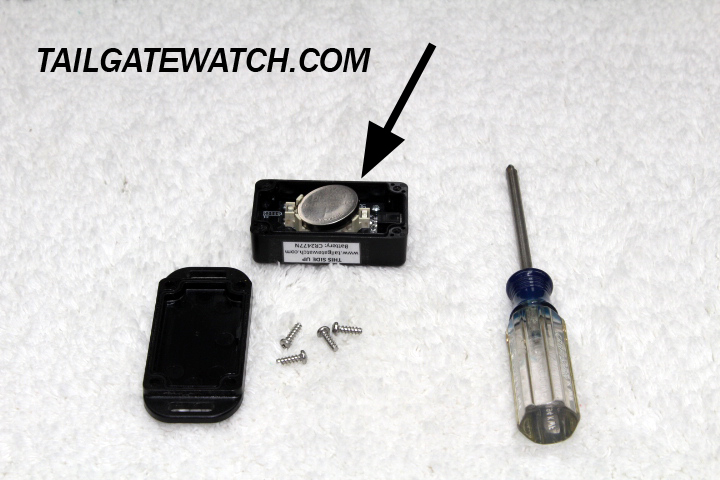
STEP-4. Gently snap out the coin cell battery.
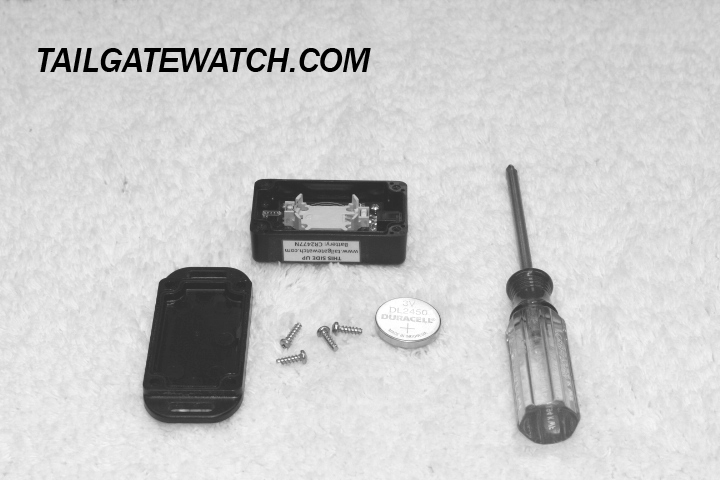
STEP-5. Have a high quality battery ready.

STEP-6. Insert the battery, gently press to secure the battery into the holder.
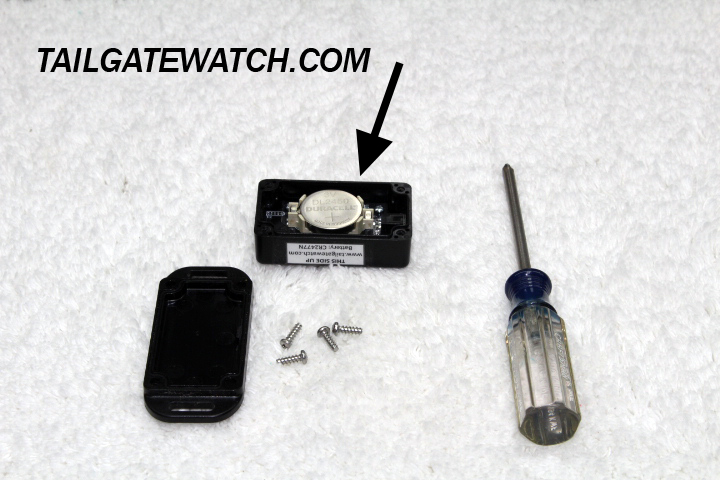
STEP-7. Visually inspect the battery to insure it is secure and seated properly in the holder.
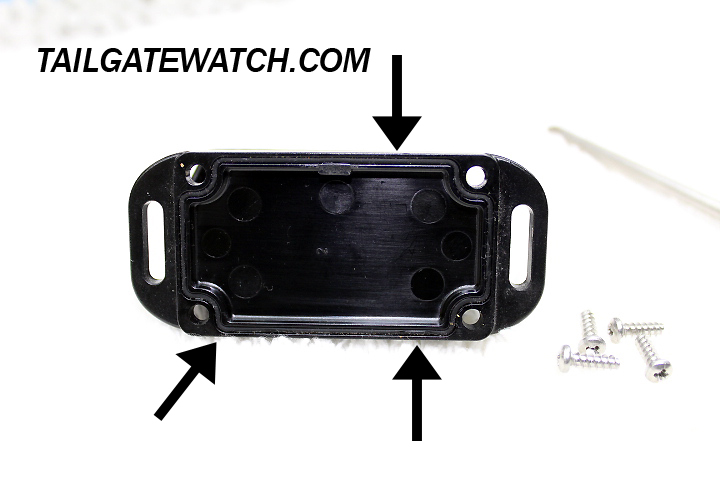
STEP-8. Inspect the battery cover rubber sealing gasket. The gasket must be in the cover channel and not pinched, cut or damaged.

STEP-9. Replace the cover and insert the 4 cover screws. Begin to tighten the cover screws in a diagonal pattern, alternating with the screws to seal the cover uniformly. Do NOT over tighten the screws.
Email: support@tailgatewatch.com
NOTE: Care needs to be taken to ensure the correct battery orientation is observed.
Proudly designed and manufactured in the USA
March-2024